
Gineesh Madapparambath
Author of Ansible for Real Life Automation book, co-author of The Kubernetes Bible - Second Edition and founder & editor at techbeatly.com | Helping on Automation and Containerization using Ansible, OpenShift, Kubernetes and Terraform | SocialKonf.com
Talks about #devops, #ansible, #openshift, #kubernetes, and #opensource
Read MoreRed Hat Remote Exams – Everything you need to know
Red Hat now offers remote exams that you can take from home, with a special setup using a Live Fedora OS. This guide, based on my per...
Best Kubernetes Monitoring & Observability Tools (Updated)
In Cloud, DevOps, Featured, May 16, 2025
Book Review: Cloud Native Anti-Patterns
In Books, anti-patterns, cloud adoption, May 06, 2025All Stories
Red Hat Remote Exams – Everything you need to know
Red Hat now offers remote exams that you can take from home, with a special setup using a Live Fedora OS. This guide, based on my personal experience, explains the setup, requirements...
In Careers, DevOps, How To, May 18, 2025
Ansible Capacity Planning: Ansible contol node and automation controller
Learn about Ansible node types and understand their roles, scaling considerations, and capacity planning best practices for both Ansible CLI and Ansible Automation Platform (AAP). Opt...
In Ansible, Automation, DevOps, May 17, 2025
Best Kubernetes Monitoring & Observability Tools (Updated)
Discover the best Kubernetes monitoring and observability tools to ensure performance, security, and visibility of your clusters. Updated regularly with the latest tools and trends.
In Cloud, DevOps, Featured, May 16, 2025
Book Review: Cloud Native Anti-Patterns
Cloud Native Anti-Patterns is a practical, no-nonsense guide for platform teams and cloud planners. It explores real-world mistakes in cloud strategies—like poor migration planning, c...
In Books, anti-patterns, cloud adoption, May 06, 2025
Artificial Intelligence (AI) – Learning and Development
This guide serves as a comprehensive reference for understanding the vast world of artificial intelligence. Covering essential terms, technologies, and key concepts, it provides a qui...
In Artificial Intelligence, Careers, Developer, Apr 06, 2025
How to Learn AI Today! Your Ultimate AI Learning Guide
Artificial Intelligence (AI) is transforming industries, creating new opportunities, and reshaping careers. Whether you’re a beginner or an expert, now is the best time to learn AI. T...
In Artificial Intelligence, Careers, AI, Mar 17, 2025
Promo – Get 30% Off on KubeCon + CloudNativeCon Europe 2025 Tickets!
Save 30% on tickets to KubeCon + CloudNativeCon Europe 2025 in London (April 1-4) with code TECHBEATLY_30 before February 19. Explore expert talks, workshops, and career opportunities...
In Careers, Cloud, Developer, Feb 04, 2025
Book Review: Mastering the Red Hat Certified Engineer (RHCE) Exam
Luca Berton’s Mastering the RHCE Exam is a comprehensive guide covering RHEL fundamentals, system administration, and Ansible automation. With detailed troubleshooting sections and pr...
In Books, Ansible, Automation, Feb 02, 2025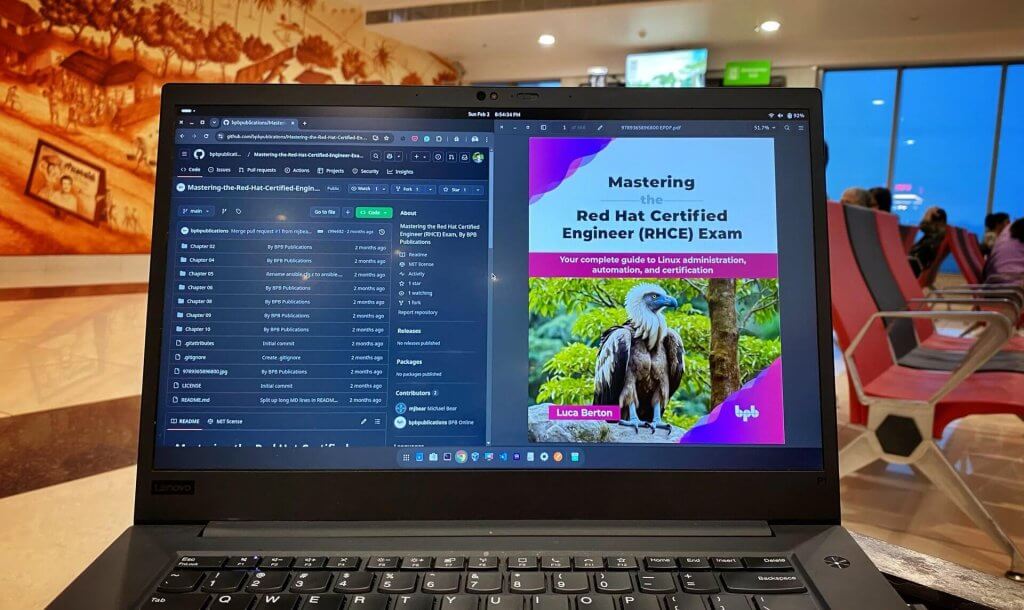
Where Should You Keep Your Ansible Collection?
Ansible Content Collections simplify automation by bundling modules, roles, and playbooks into reusable, versioned packages. They can be stored in Execution Environments, system paths...
In Ansible, Ansible Resources, Automation, Jan 19, 2025
Running PostgreSQL Instances as Containers with Podman
This guide covers setup, configuration, and best practices, including volume management for data persistence, environment variables for secure credentials, and systemd integration.
In Automation, Database, DevOps, Dec 21, 2024
Featured
-
Best Kubernetes Monitoring & Observability Tools (Updated)
In Cloud, DevOps, Featured, -
Integrating Ansible Automation Controller with Splunk
In Ansible, Automation, Featured, -
Mastering Tekton: Your Guide to Cloud-Native CI/CD Workflows
In Automation, Courses, DevOps, -
Learn Ansible – A Comprehensive Guide for Courses and Exams
In Ansible, Ansible Resources, Automation, -
Free GitOps and CI/CD Courses and Certifications
In ArgoCD, DevOps, Featured, -
Terraform Cheat Sheet
In DevOps, Featured, Infrastructre & Hardware, -
Kubernetes vs OpenShift – 15 Facts You Should Know
In Cloud, DevOps, Featured, -
Introduction to OpenShift BootCamp
In DevOps, Featured, Kubernetes, -
How to set up and use Python virtual environments for Ansible
In Ansible, Automation, DevOps, -
5 Mistakes You Should Avoid During Kubernetes Exam
In Cloud, DevOps, Featured, -
10 Tips for your Kubernetes Exam – CKA & CKAD
In DevOps, Featured, Kubernetes, -
CKA, CKS & CKAD Learning Path and Certification
In Featured, Infrastructre & Hardware, Kubernetes,